
Disclaimer: Jake’s Tails, Tales, and Tips is a participant in the Amazon Services LLC Associates Program, an affiliate advertising program designed to provide a means for sites to earn advertising fees by advertising and linking to amazon.com. As always, I do not refer any products that I do not use and believe in myself.
Spring is in the air, which means that fishing season is upon us! Pre-spawn and even spawn behavior has already hit Arizona waters, and it’s time to wet some lines.
But don’t move so fast.
Before we get on the water, we need to give some of our fishing equipment some TLC. Its time to organize tackle, check over rods…

Before the cleaning. You can see just how dirty these reels were, along with how worn out the line was.
And reel maintenance.
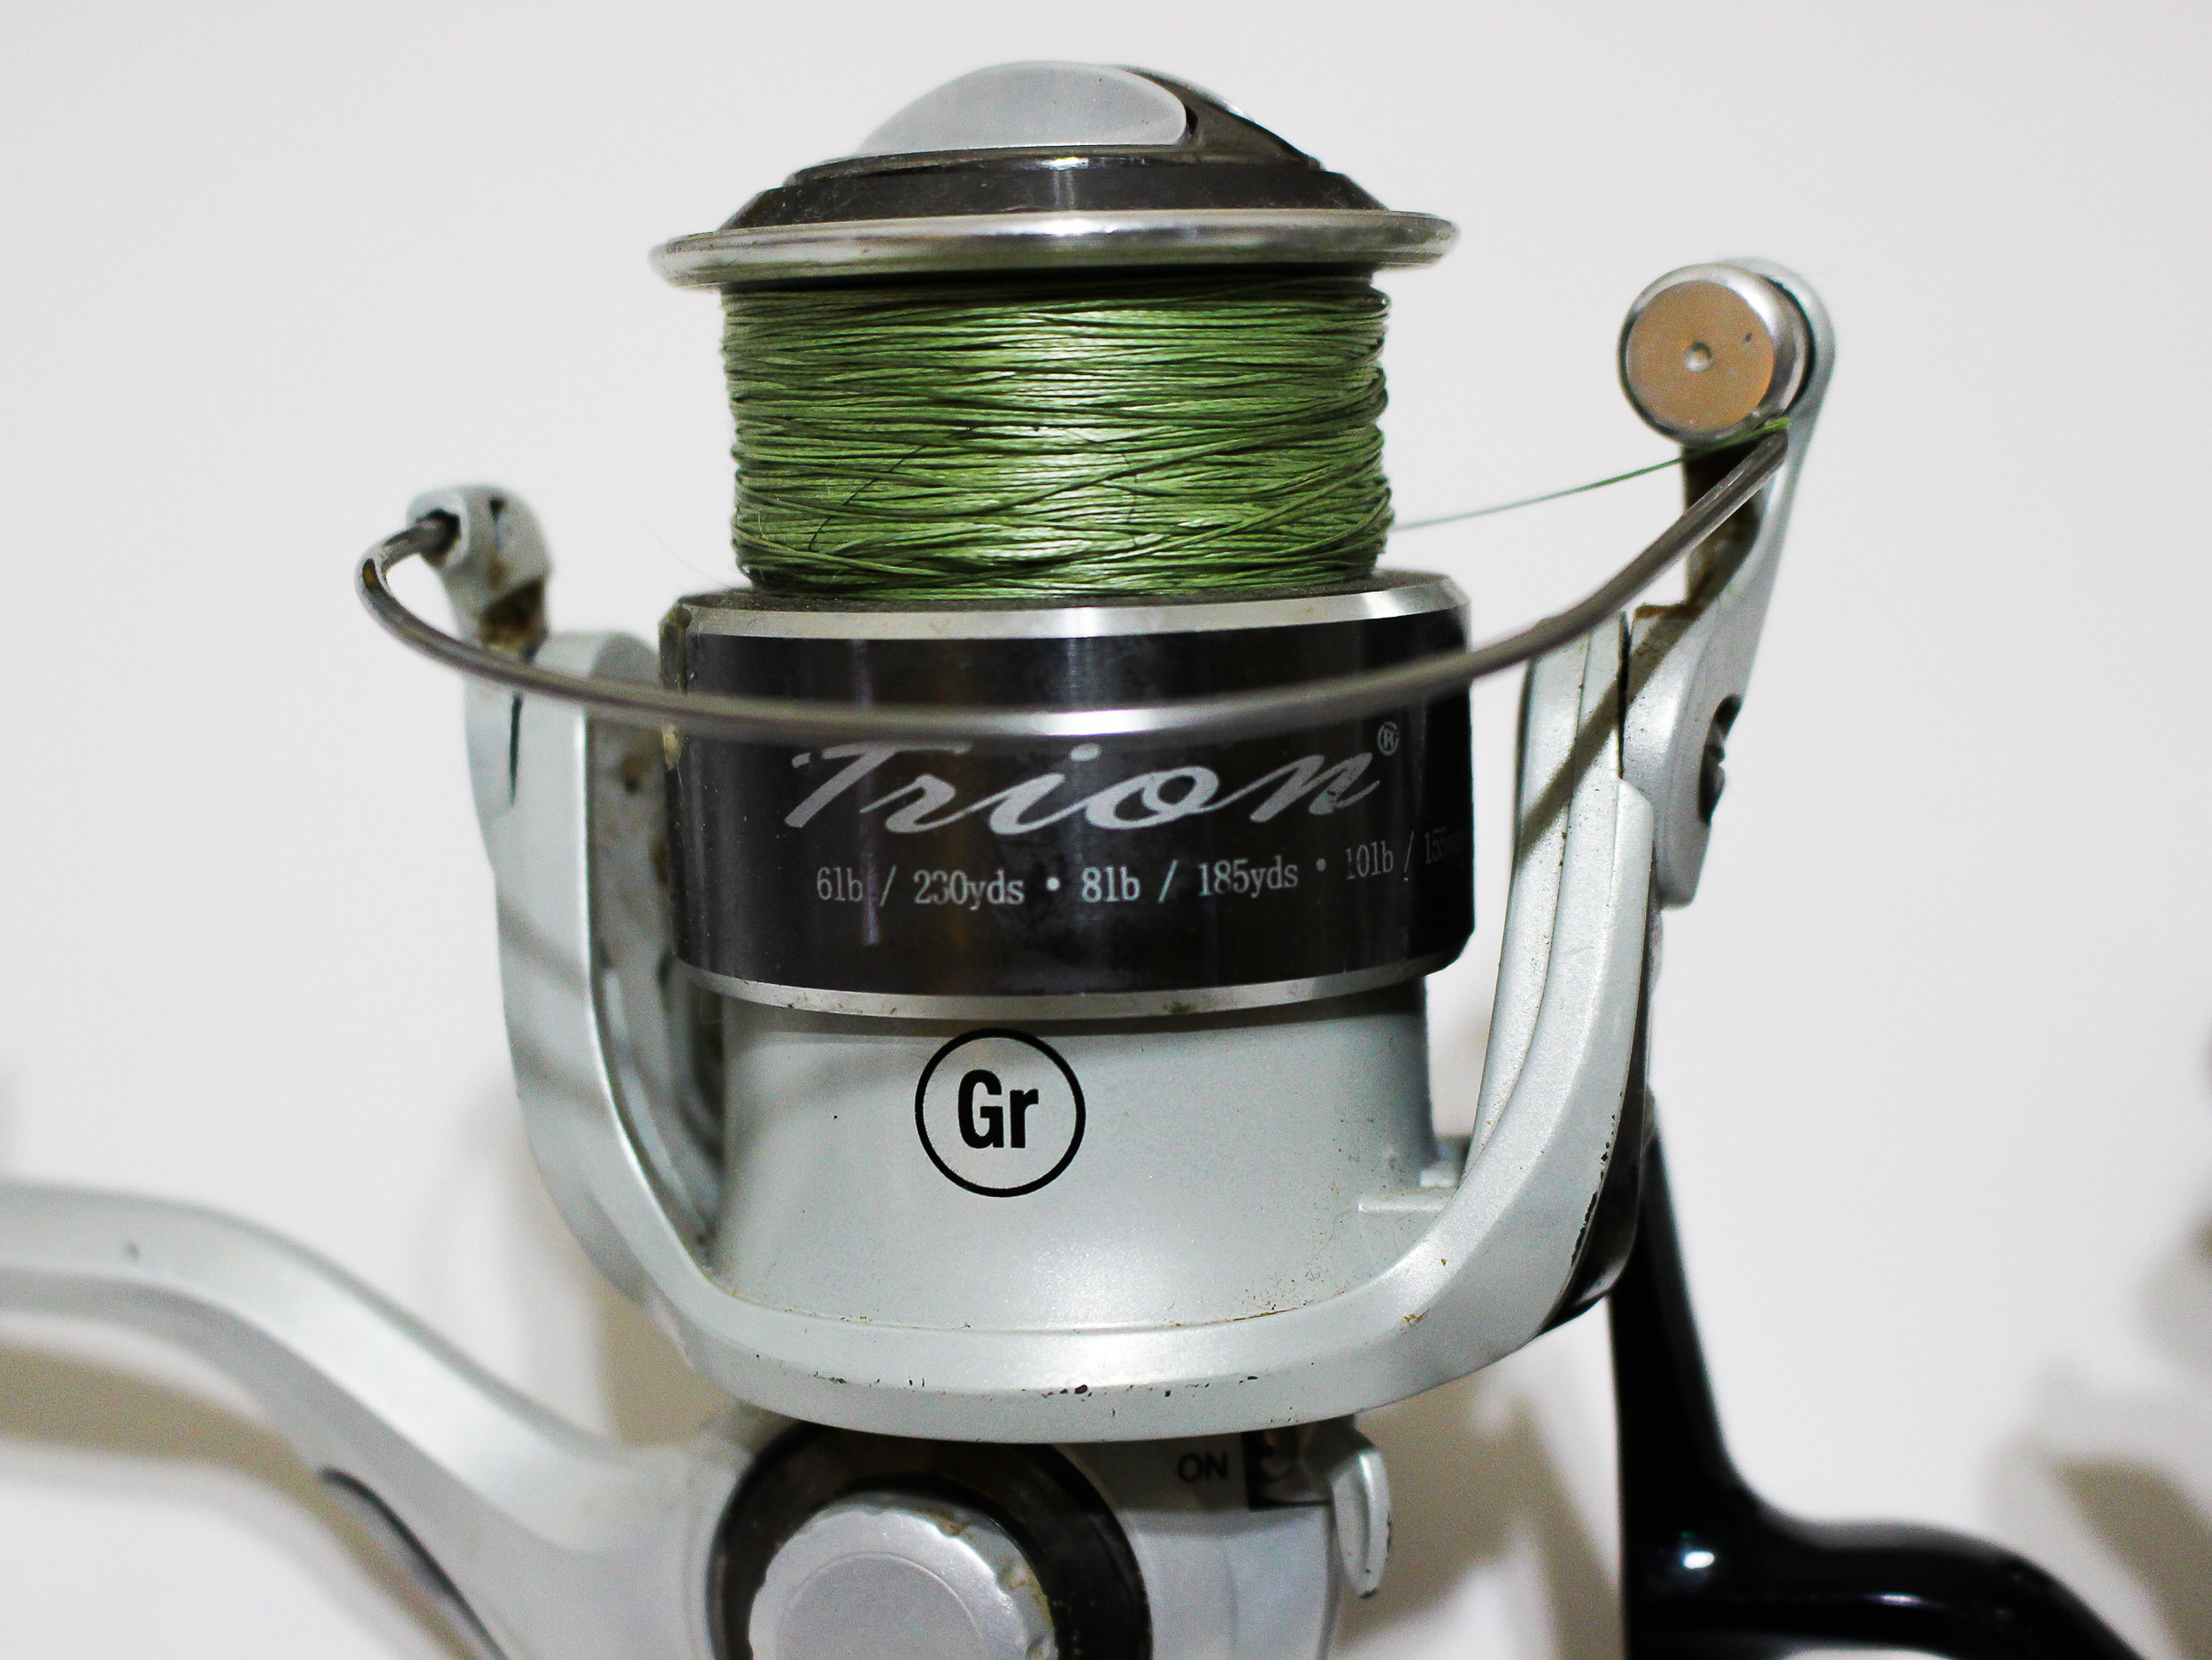
You can see just how dirty this reel is. You can also see some line-burrow if you look close - something that obviously needs to be fixed.
The reel is probably the most technically difficult part of fishing, with many moving parts. If time is taken on a semi-often basis to take care of these parts, than we can expect our reels to last a long time. Now, my maintenance schedule is simple; I would say simpler than most, but it gets the job done. Let’s go through my routine to get reels ready for the season.
Begin by taking the reel apart. Unscrew the drag knob all the way until the knob comes off. The spool should then come off. Oh, by the way, STRIP ALL THE LINE OFF. Yeah people, it’s time for some fresh line, and now is the time to do it.

My Shimano Sienna 2500, one of my heaviest used reels, isn’t that dirty, but surely needs some new line.
Set the spool aside and follow by removing the reel bail. You’ll want to remove the bail where it pivots from the reel, and not to just remove the bail itself. Remove the bail by unscrewing the two screws that attach the bail – oh yeah, let’s talk about my reel/rod maintenance kit.
I put together a rod/reel maintenance kit that is my all-inclusive kit to take care of my rod and reel in most situations. I’ll usually keep this kit in my vehicle while I fish so that I have access to it if something happens. This kit will cover reel cleanings and rod tip replacement, which is really all you need. The following can be found in my kit:
· Long Q Tips (Or regular, but the length helps)
· Small plastic brush
· Alcohol wipes
· Gun Cleaning Patches (Any will work)
· D-Funk Reel Performance (Or other conditioner)
· Stanley Precision Screwdrivers (1 flathead, 1 Phillips)
· Emergency Rod Tip Replacement Kit (I have the Bass Pro Shop version)

I store all of the mentioned ingredients in a plastic organizer – I got mine from a local craft shop. You can use a normal fishing box, but the craft boxes are usually cheaper.
I keep alcohol wipes in the kit for times when I’m out of the house, and I just use isopropyl alcohol for home use. Proceed by using the alcohol and patches/Q tips and wipe all of the excess oils and dirt out of all parts of the reel. This includes both internal and external pieces. Focus on where the bail attaches to the reel – dirt in these areas will result in rough use. Take your time during this process, as the cleaner it is, the better end product you will have. This will also increase the performance of your reel, and the overall life of your reel. Make sure to wipe down the entire external part of the reel as well. I’ll also mention that some people use SimpleGreen or something similar, but I just stick to alcohol.
I should now mention that I don’t take the reel completely apart to clean bearings, gears, etc. In my opinion, you’re asking for trouble by taking the gears apart. As for the bearings, that’s up to you, but I don’t.

Follow by properly applying oil to parts of your reel; when I say “properly”, I mean to apply a single drop of oil to each spot that needs it. Excess oil can actually attract dust and dirt, which will decrease reel performance. Each reel will have different points to oil, but the basics are to apply a drop of oil to any portion of the reel where a 2 moving parts meet. However, we are not taking gears here. Apply oil where the bail arm attaches, where the handle attaches, etc. Also, do NOT use WD40, and do not use any sort of reel conditioner (Reel Magic, D-Funk, etc). These products are not the correct chemical composition or the correct viscosity for proper reel applications.
Continue by putting the reel back together, and use a cloth or paper towel to wipe off any excess oil. I would then apply a light coating of reel conditioner to the entire reel. This will give a protective coating to the reel, ensuring a prolonged life. You’ll then want to put on your line, followed by more conditioner on the line (just a small amount here).
That’s it, folks. Getting your reel ready for the season can be fast and simple, as long as you have the right equipment and products. Feel free to comment down below if you have any questions.
