It’s no longer hunting season across the country, but now is the time to get ready for next season. This includes making sure that guns are clean, gear is clean and organized, items needed for next season are purchased, and much more.
For me, this includes duck decoy maintenance. I like to make sure that all of my decoys are in good shape, cleaned, touched up with paint, and wrapped up for proper storage. For new decoys, I like to make sure that rigs are prepped and installed, so that I don’t have to do any additional steps come next season.
In this article, we are going to discuss how to pour your own lead weights for your duck rigs. I’m going to show you the general process, and you can make alterations as you’d like. With that said, there are many different ways one can make decoy rigs – I’m here to show you one of the easier methods using lead. You can weights using house-made weights with concrete, but this is too bulky for me. You can also use store-bought weight molds, but I wanted to go a cheaper route. I’ll be taking this project step by step, complete with thorough instructions and pictures. I will be showing you how to pour J weights, though many shapes can be made using this method. Let’s get started.
First, you’ll need the right tools. With this method, you’ll need the following:
Router
½” Straight Router Bit
2”x4”, about 2 feet in length
Heat Source (I’ll be using a camp stove)
Pot used only for melting lead
Mixing Utensil
Lead
Drill with 1/8” Bit
Safety Glasses
Before we begin, let’s talk about safety. Safety glasses should be worn during the entirety of this project. Also, you need to be careful with a router – as my woodshop teacher always said, a table saw cuts off your finger, but a router turns it into ground meat. Also, lead needs to be melted somewhere with superior ventilation, such as outside, and don’t breathe the vapors. Additionally, you need to wash your hands thoroughly once finished, preferably with an industrial strength hand cleaner.
Let’s first talk about the pattern that we will use. It’s a J shape pattern that I created, based upon a depth of 3/8”, and an overall weight of roughly 5 oz. Now, disclaimer, these weights won’t be a precise weight unless you have a precision lead pouring tool, such as a Lee Precision Production Pot. With that said, I don’t really care if one weight is 4.9oz, and another is 5.3oz, and another is 5.9oz. I should also mention that J shape weights are suppose to “grasp” onto underwater materials (such as rocks, weeds, woody materials) to make a more steadfast hold. Is it actually advantageous to have a J shape compared to another shape? I mean, maybe? Perhaps the J shape would do a better job in a steadily moving current - I currently duck hunt almost exclusively on rivers, which is the reason I chose the J shape. With all of this said, almost any shape or pattern will do the job, so long as adequate weight is there to hold the decoys in place.
The picture below is the pattern I used, along with the dimensions.

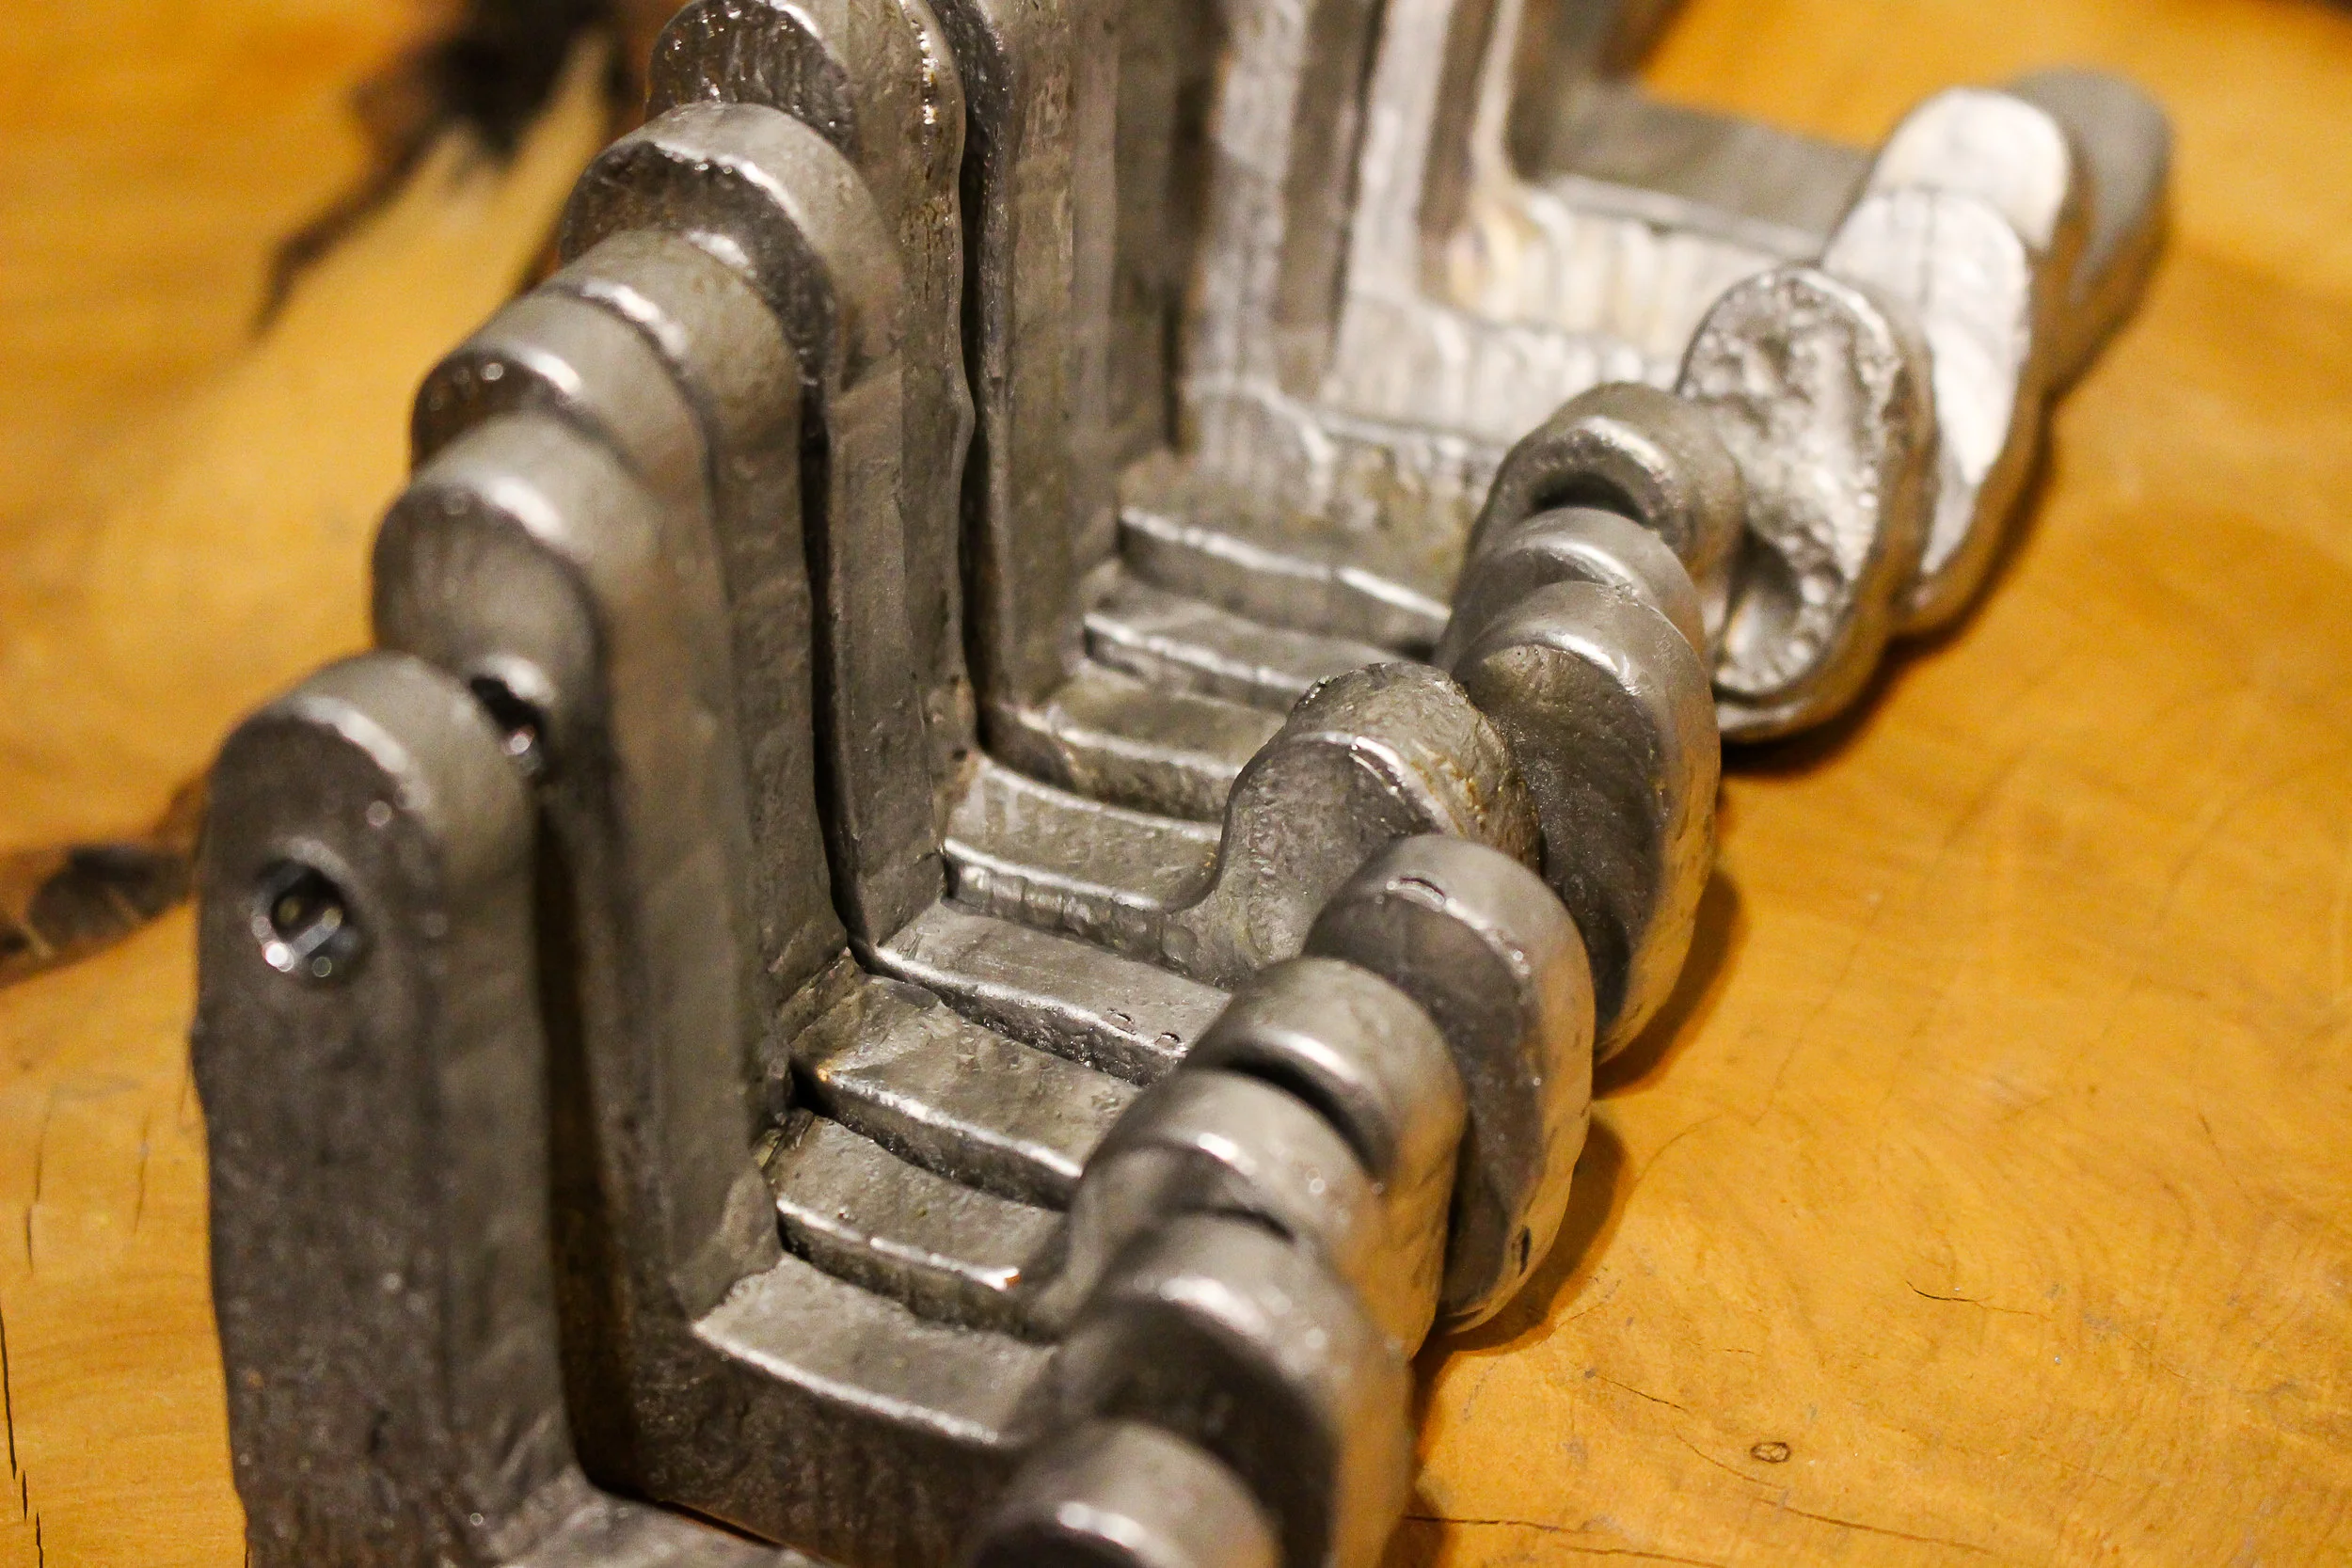
Once I had the pattern made, I cut it out of a piece of paper. I then traced this pattern onto a 2”x4” – I traced the pattern onto the piece of wood 3 times, but you can trace it as many times as you’d like. I would error on the side of less though; more molds means that your lead gets cool and a less than optimal product is created.
Now it’s time create the mold cavities. Using your router, with bit set to 3/8” depth, carefully cut out the pattern. Don’t rush this part, as the nicer the cavity, the nicer the final product. In the event that one of the cavities doesn’t come out, just re-trace the pattern onto another piece of wood and start over.

Once all the cavities have been routered out, its time to start melting the lead. I used my small camp stove for this process – it doesn’t get as hot as I’d like, but it does the job. Place your lead into the pot, light your stove, and begin the melting process. I say “process” because it can take some time, especially if it’s cold and/or windy outside. During this melting process, I did have to use a blow torch additionally, as the wind was cooling down one side of the pot too much.
The melting process will take anywhere from 10-30 minutes, depending on how much lead you will be melting, and how hot your heat source is. During this time, you need to apply some sort of release agent to your molds. I used old car oil, and just placed a decent amount into each cavity, making sure to cover the sides as well. Be sure that your mold is on a stable surface, and is level in all directions.
Once the lead is melted, carefully pour the lead into your wooden molds. Keep in mind of your dimensions – my pattern was designed to actually make 4oz weights, but because of over-filling, an extra ounce was added.
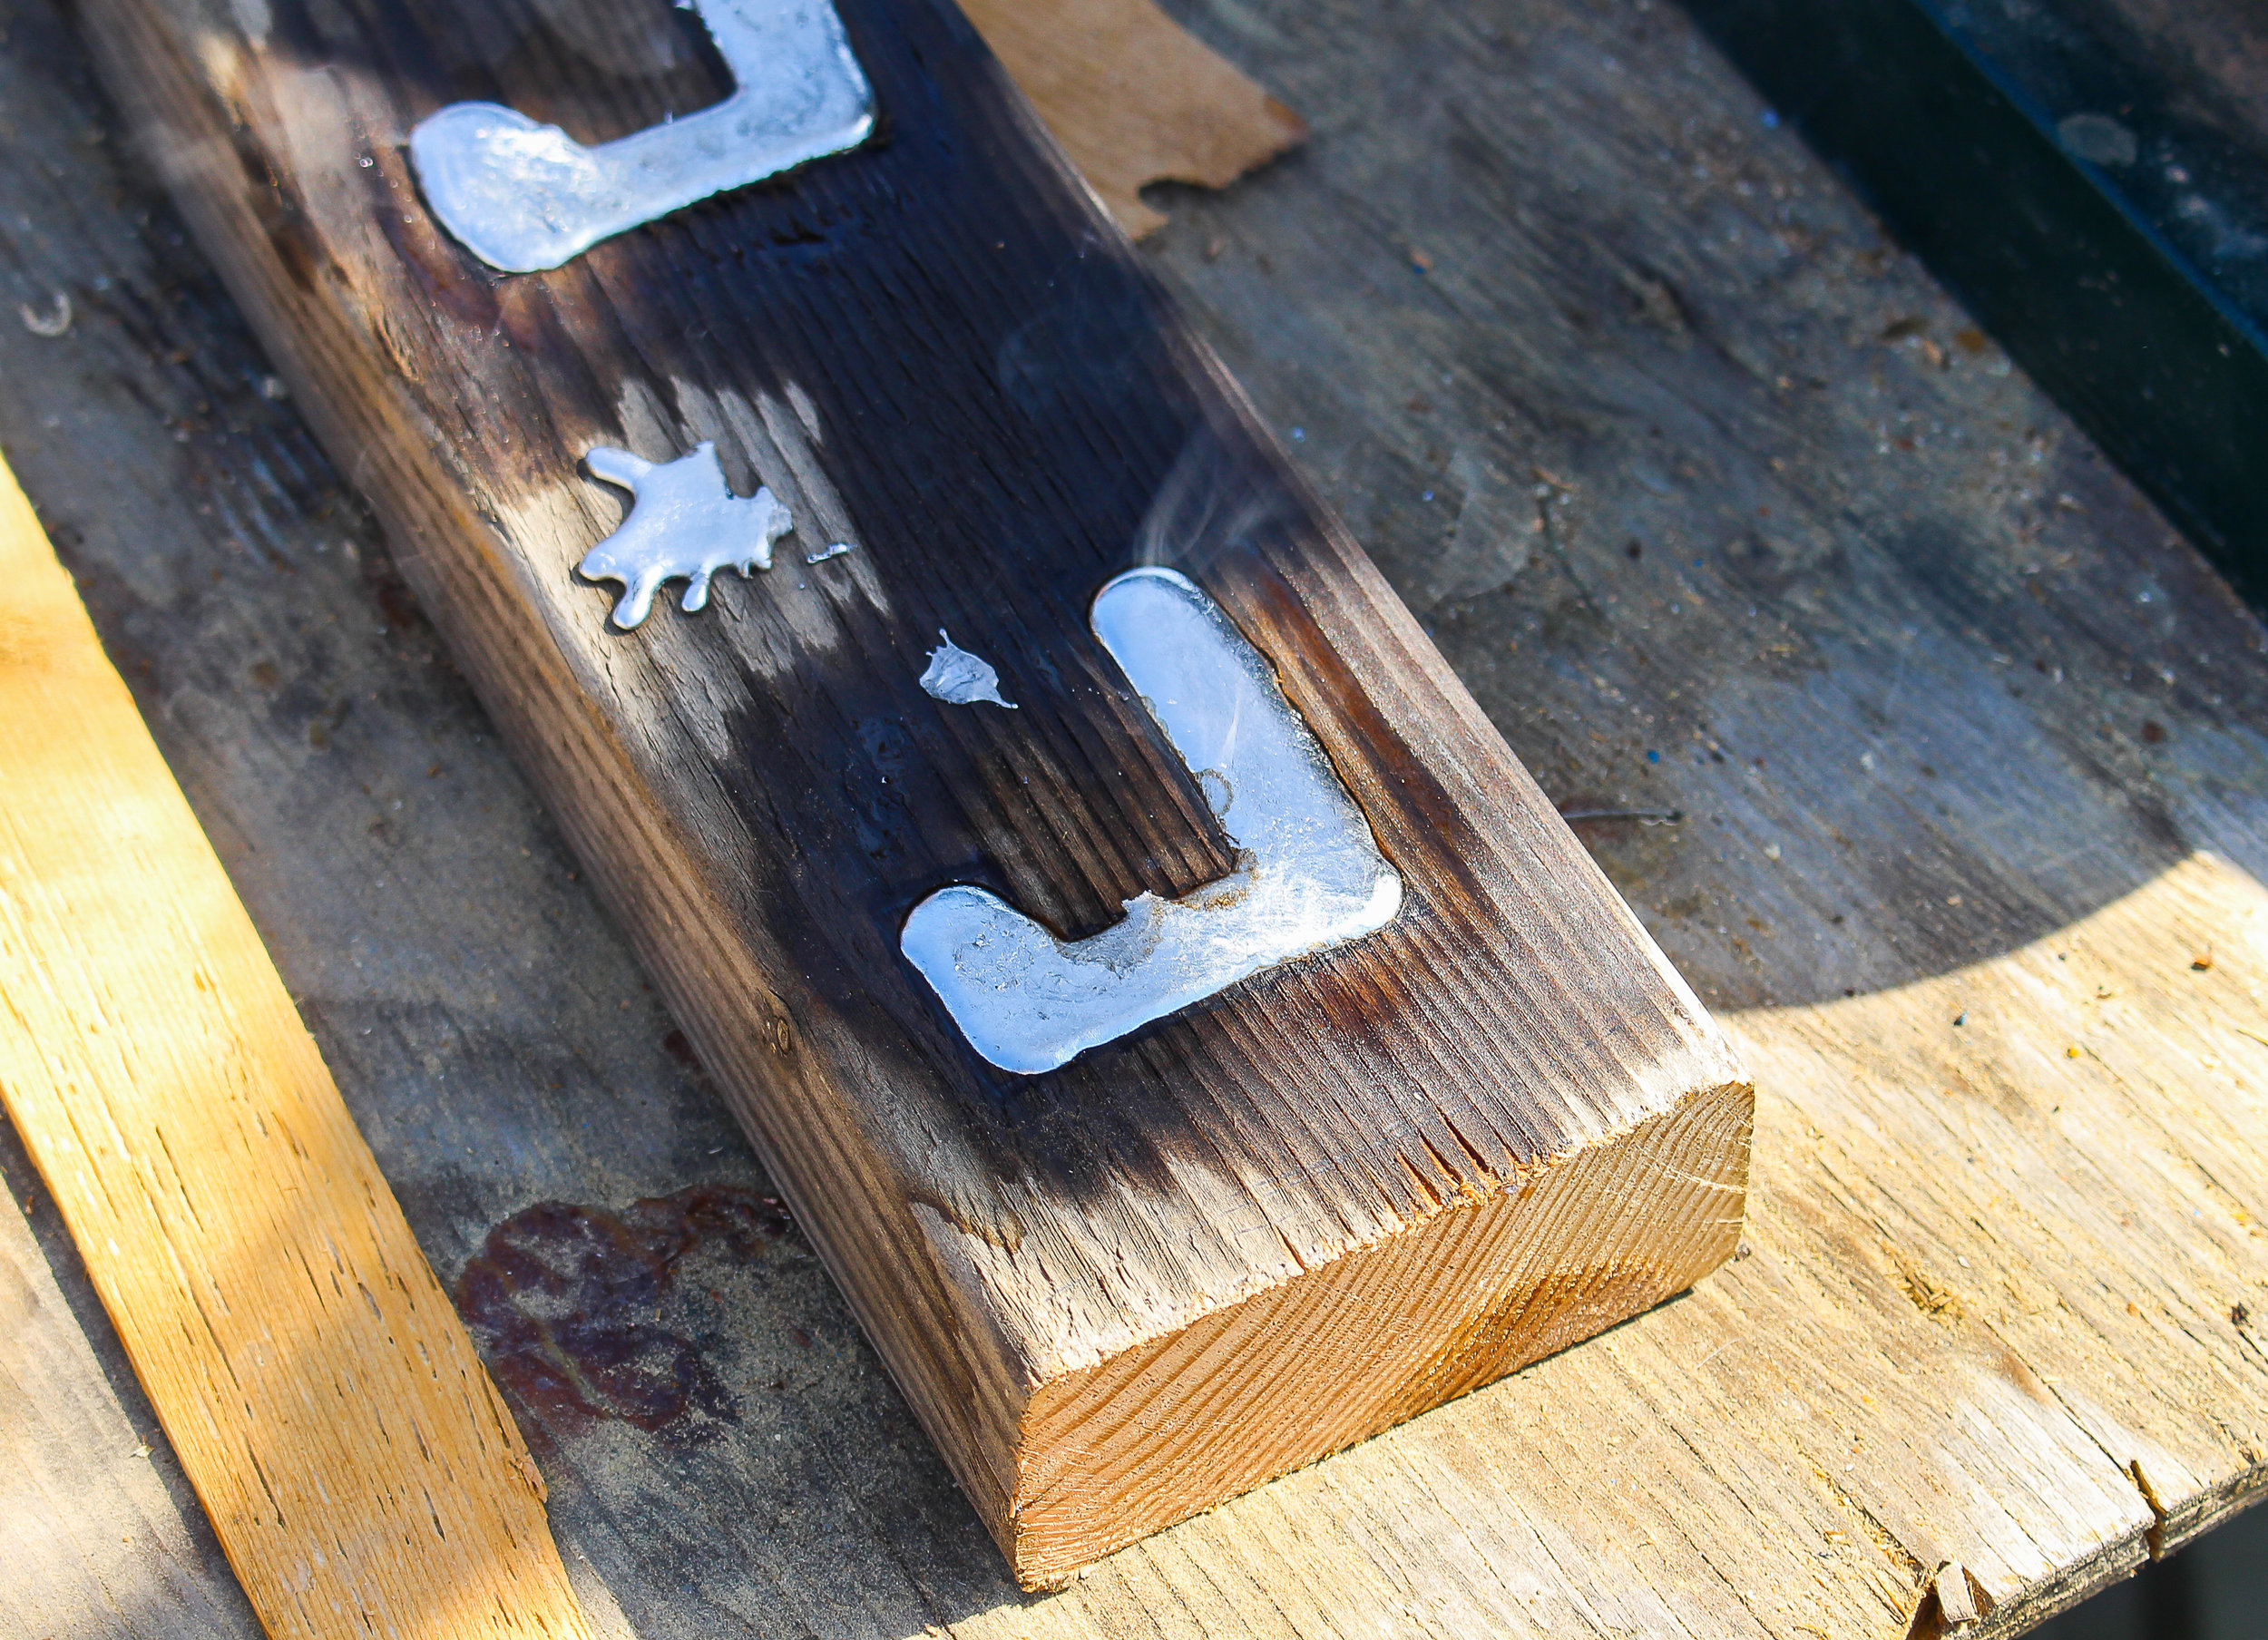
Let the weights cool for 5-10 minutes before removing from the molds – releasing too early can cause the weights to break. Beat the mold on a hard surface to make the weights come out. Repeat the pouring process for more weights. You do NOT need to add more oil in between each pour.
Once your weights have been poured and cooled completely, drill a hole where the line will go through. On the pattern above, the black circle is where I drilled the holes. Use a sharp bit and go slow, and save your shavings so that you can melt them down later.
At this point, I carefully used a utility knife to shave off any sharp edges, and to also clean up the drilled hole. And just like that, folks, we are finished. This project is pretty simple, and just takes a few hours to complete. This is part I of a 2 part series, where I will be making DIY rigs using these weights. Stay tuned.
